Packing a storage container sounds straightforward until you realize just how much can go wrong if you skip a few crucial steps. It might seem simple, but a poorly packed container can lead to damaged belongings and as much as 30 percent wasted space. Most people cram everything in and hope for the best, missing out on simple strategies that make the whole process easier and safer—turns out the secret is all in the prep, not the packing. Learn how to pack a storage container in this blog.
Table of Contents: How to Pack a Storage Container
- Step 1: Evaluate Your Packing Needs And Space Requirements
- Step 2: Gather Packing Supplies And Tools
- Step 3: Organize And Label Your Items Efficiently
- Step 4: Load Your Storage Container Strategically
- Step 5: Secure Loaded Items And Close The Container
- Step 6: Perform A Final Check And Document Contents
Quick Summary
| Key Point | Explanation |
|---|---|
| 1. Conduct a detailed inventory list. | Categorize your belongings by size, weight, and fragility to assess your packing needs effectively. |
| 2. Gather high-quality packing supplies. | Utilize sturdy boxes, bubble wrap, and packing tape to protect items during storage and transport. |
| 3. Organize and label items systematically. | Create logical categories and a color-coded labeling system for easy identification and access. |
| 4. Load the container with strategic placement. | Place heavy items at the bottom and create stable stacks to maximize space and prevent damage. |
| 5. Document contents and perform a final check. | Take inventory photos and verify all items are secure; store documentation safely for future reference. |
Step 1: Evaluate Your Packing Needs and Space Requirements
Successfully packing a storage container starts with a strategic evaluation of your specific storage requirements and available space. This crucial first step determines the efficiency and organization of your entire packing process, preventing potential issues like damage, wasted space, or ineffective loading.
Begin by conducting a comprehensive inventory of the items you plan to store. Walk through your home or workspace and categorize belongings by size, weight, fragility, and frequency of potential access. Consider creating a detailed inventory list that helps you visualize the total volume of items. For larger items like furniture or appliances, measure their dimensions precisely to understand how they might fit into the storage container’s layout.
Next, carefully assess the storage container’s interior dimensions. Most standard containers come in specific sizes like 20 or 40 foot lengths, with varying internal capacities. Measure the container’s width, height, and length, noting any structural features that might impact loading strategy. According to the U.S. Department of State guidelines on container loading, evenly distributing weight is critical for maintaining container stability during transport or storage.
As you analyze your inventory and container space, prioritize items based on weight distribution and potential damage risks. Heavier items should be placed at the bottom and towards the container’s center of gravity, while lighter and more fragile items can be strategically positioned to minimize movement. Consider grouping similar items together and using protective materials like bubble wrap, moving blankets, or custom packaging to prevent potential damage.
Key verification points for this step include:
- Completed detailed inventory list
- Precise measurements of both items and storage container
- Preliminary loading strategy considering weight distribution
- Identification of special handling requirements for fragile or valuable items
By meticulously evaluating your packing needs and space requirements upfront, you set the foundation for a smooth, efficient storage container loading process that protects your belongings and maximizes available space.
Step 2: Gather Packing Supplies and Tools
Compiling the right packing supplies and tools is a critical step that can make or break your storage container loading experience. Proper preparation prevents last minute scrambling and ensures a smooth, efficient packing process that protects your valuable belongings.
Start by assembling a comprehensive collection of high quality packing materials. Invest in sturdy moving boxes of various sizes to accommodate different types of items. Seek out boxes with reinforced edges and substantial cardboard thickness to withstand stacking and potential transportation stress. Corrugated cardboard boxes work best for most household and office items, providing durability and protection.
According to National Park Service recommendations for packaging supplies, you will need several key tools to pack effectively. Gather multiple rolls of high tensile strength packing tape with a reliable tape dispenser to ensure secure box sealing. Purchase bubble wrap, packing paper, furniture blankets, and cushioning materials to protect fragile items during storage and transportation. Specialty items like mattress covers, wardrobe boxes, and dish pack boxes can provide additional protection for specific belongings.
Equip yourself with essential tools that will streamline the packing process. A measuring tape helps confirm box and item dimensions, while utility knives with replaceable blades allow precise cutting of packing materials. Permanent markers for labeling, work gloves to protect your hands, and a clipboard or digital inventory tracker will help you stay organized throughout the packing process.
Key supplies to gather include:
- Multiple box sizes (small, medium, large)
- Heavy duty packing tape and tape dispenser
- Bubble wrap and packing paper
- Furniture blankets and protective coverings
- Utility knife with extra blades
- Permanent markers
- Measuring tape
- Work gloves
By methodically gathering the right supplies before you begin packing, you create a solid foundation for an efficient and damage free storage container loading experience. This preparation transforms a potentially chaotic process into a well orchestrated, systematic approach to protecting and organizing your belongings.
To help you prepare efficiently, here is a summary table of essential packing supplies and tools, along with their recommended purposes.
| Supply/Tool | Purpose |
|---|---|
| Sturdy moving boxes (varied sizes) | Protect and contain different types of items |
| Heavy-duty packing tape & dispenser | Securely seal boxes and prevent opening |
| Bubble wrap & packing paper | Cushion and protect fragile items |
| Furniture blankets & coverings | Shield furniture and large items from damage |
| Utility knife with extra blades | Cut packing materials and tape easily |
| Permanent markers | Label boxes clearly for easy identification |
| Measuring tape | Measure items and boxes for planning |
| Work gloves | Protect hands during packing and loading |
Step 3: Organize and Label Your Items Efficiently
Effective organization and labeling transform a chaotic storage container into a systematic, easily navigable space. This critical step ensures you can quickly locate items and protect your belongings during storage and transportation.
Begin by sorting your items into logical categories such as household goods, seasonal items, office equipment, or personal memorabilia. Group similar items together to create a structured packing approach. Fragile items like glassware, electronics, and artwork should be separated and packed with extra protective materials. Consider creating a color coded system where different colored labels or tape represent specific categories, making visual identification quick and intuitive.
According to National Archives organizational guidelines, comprehensive labeling is crucial for efficient storage management. Use high quality permanent markers or printed labels to clearly mark each box with its contents, origin room, and handling instructions. Write on multiple sides of the box to ensure visibility regardless of how items are stacked. Include additional details like fragility warnings or weight considerations to help movers and yourself handle items with appropriate care.
Develop a detailed inventory spreadsheet or digital tracking system that corresponds with your physical labels. Number each box and create a master list that documents exactly what is inside. This approach provides multiple layers of organization digital documentation complements physical labeling, giving you a comprehensive overview of your stored items. Consider taking photographs of box contents as an extra verification method, which can be invaluable for insurance purposes or personal reference.
Key organizational strategies include:
- Categorize items by type, fragility, and frequency of use
- Use color coded or numbered labeling systems
- Create a digital and physical inventory tracking method
- Pack heavy items in smaller boxes to prevent overloading
- Place frequently needed items near container entrance
By investing time in meticulous organization and labeling, you create a storage solution that protects your belongings and provides stress free access whenever you need to retrieve items. Your future self will appreciate the thoughtful preparation and systematic approach to storage container management.
Step 4: Load Your Storage Container Strategically
Loading a storage container is more than simply filling space it requires a calculated approach that maximizes efficiency, protects your belongings, and ensures safe transportation. Strategic loading determines how well your items survive storage and potential transit conditions.
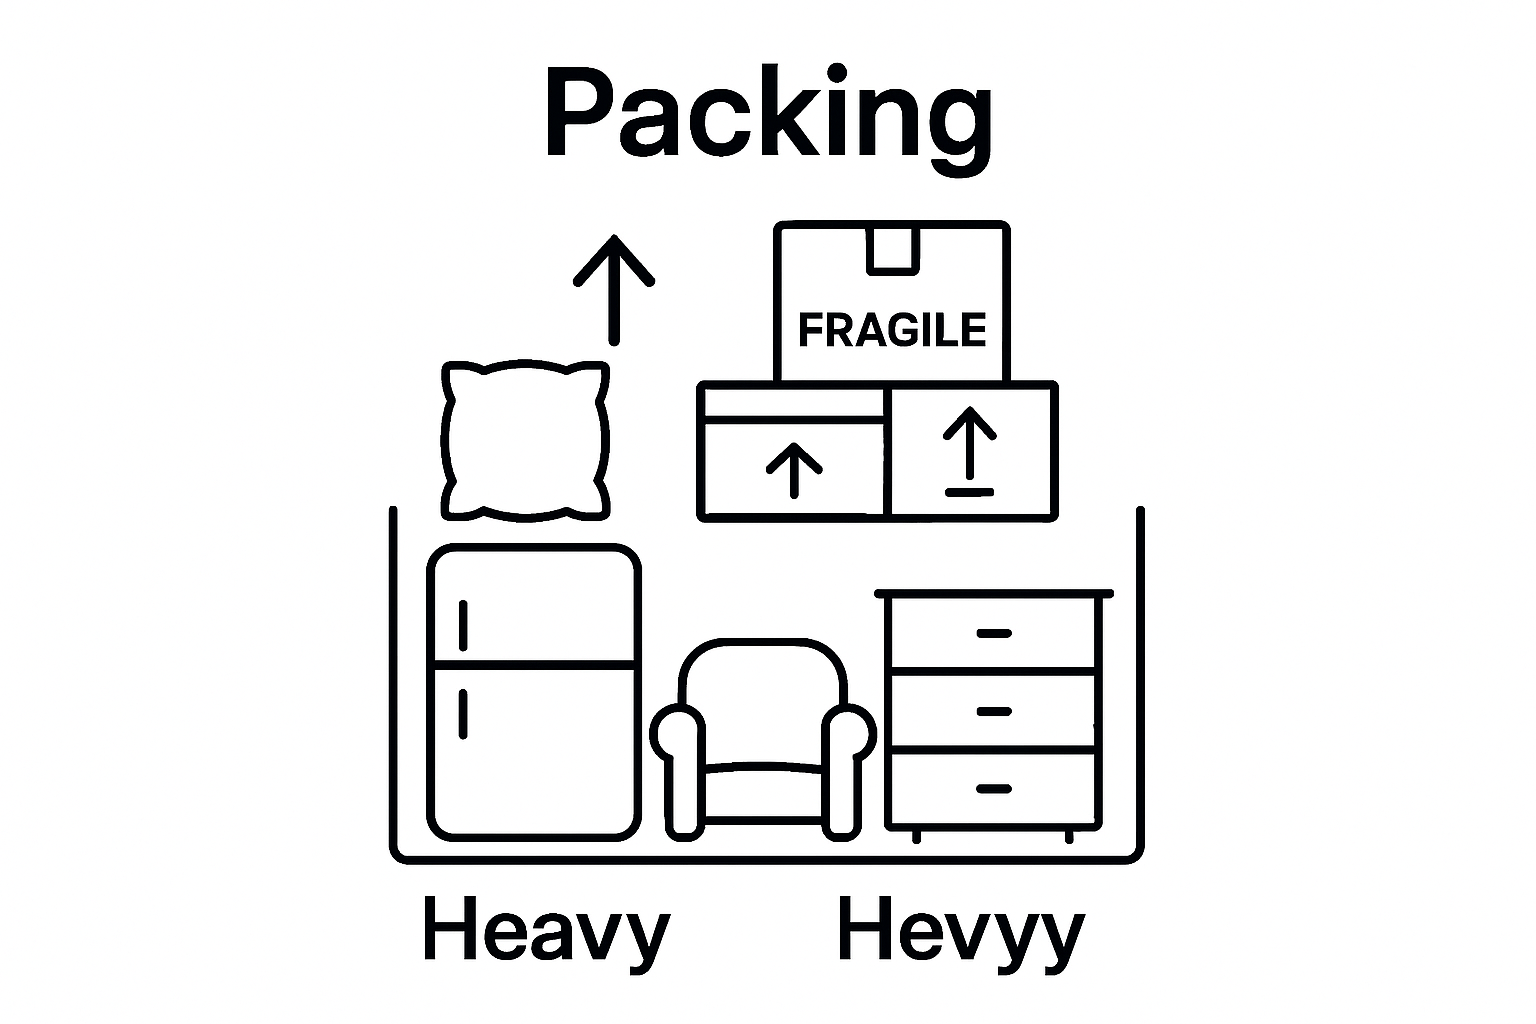
Begin with a foundational layer of heavy and sturdy items like large furniture pieces, appliances, and robust wooden items. Place these at the container’s bottom and center, creating a stable base that distributes weight evenly. Disassemble larger furniture when possible to reduce space consumption and minimize potential damage. Secure these base items using ratchet straps or heavy duty moving blankets to prevent shifting during transportation.
According to University of Massachusetts Amherst storage optimization guidelines, vertical space utilization is crucial. Stack boxes and lighter items systematically, filling gaps and creating a uniform load. Use vertical stacking techniques that create a pyramid like structure, with heavier boxes at the bottom and lighter boxes progressively stacked upward. Ensure each layer is stable before adding the next, using cardboard sheets between layers to distribute weight and prevent box crushing.
For more comprehensive insights into maximizing your storage strategy, check out our guide on container storage space optimization. Create buffer zones around fragile items using bubble wrap, foam padding, and strategically placed soft items like blankets or clothing.
 Fill empty spaces with soft packing materials to prevent items from shifting during movement. Avoid leaving large air pockets that could allow items to move and potentially cause damage.
Key strategic loading principles include:
- Distribute weight evenly across the container
- Place heaviest items at the bottom and center
- Create stable, interlocking stacks
- Use padding between layers and around fragile items
- Leave minimal empty space to prevent item movement
By approaching container loading with thoughtful strategy, you transform a potentially chaotic process into a precise, protective arrangement that safeguards your belongings and maximizes available storage space.
Step 5: Secure Loaded Items and Close the Container
The final stage of packing a storage container involves meticulously securing your loaded items and properly sealing the container. This critical step ensures the protection of your belongings during storage and potential transportation, preventing damage from movement or external elements.
Begin by conducting a final visual inspection of your packed container, verifying that all items are tightly positioned and cannot shift during movement. Use ratchet straps, cargo nets, or heavy duty moving straps to create additional stabilization across larger items and prevent potential movement. Place these straps strategically across furniture, appliances, and densely packed box sections, creating a crisscross pattern that distributes tension evenly and minimizes potential shifting.
According to University of Massachusetts Lowell’s Environmental Health and Safety guidelines, container integrity is paramount. Inspect the container walls, floor, and doors for any potential weak points or damage before final closure. Ensure all boxes are firmly positioned and cannot topple. Use additional padding materials like moving blankets or bubble wrap to fill any remaining gaps, creating a snug environment that prevents internal movement.
Prepare the container doors for secure closure by cleaning the door seals and checking for any debris that might prevent a tight seal. Apply high quality, weather resistant sealing tape around door edges to create an additional barrier against moisture and dust. If your container includes a locking mechanism, test it thoroughly to confirm proper functionality. For added security, consider using a robust padlock that meets commercial grade standards.
Key final securing steps include:
- Verify all items are immobilized and cannot shift
- Use ratchet straps to create cross tension
- Fill remaining spaces with padding materials
- Check container seals and door functionality
- Apply weather resistant sealing tape
By systematically securing your storage container, you create a protective environment that safeguards your belongings against potential transportation challenges and storage conditions. Your meticulous attention to detail ensures peace of mind and preserves the condition of your stored items.
Below is a checklist table to help guide your final review and documentation process, summarizing critical verification steps for peace of mind.
| Final Check Step | What to Do |
|---|---|
| Complete visual inspection of interior/exterior | Examine all areas for weak points or potential issues |
| Photograph all packed items & document condition | Take clear photos of each box and major item |
| Create digital and physical inventory | List all contents in spreadsheet or tracker |
| Verify all items securely positioned | Ensure nothing can move or topple |
| Prepare & store documentation package | Back up paperwork and keep a copy in a safe place |

Step 6: Perform a Final Check and Document Contents
The final stage of packing a storage container involves a comprehensive review and documentation process that protects your investment and provides crucial information for future reference. This meticulous step ensures the safety of your belongings and creates a reliable record of your stored items.
Conduct a systematic visual and physical inspection of the entire container, walking around the exterior and carefully examining the interior. Check for any potential weak points, damage to seals, or areas that might compromise the container’s structural integrity. Verify that all items are securely positioned and cannot shift during potential transportation. Use a flashlight to illuminate dark corners and inspect hard to reach areas, ensuring nothing has been overlooked during the packing process.
According to University of California, Berkeley’s safety guidelines, comprehensive documentation is crucial. Create a detailed inventory spreadsheet that includes every item packed in the container. Photograph each box and significant item before sealing, capturing serial numbers, unique identifiers, and overall condition. Store these digital records securely in cloud storage or on multiple backup devices, ensuring you have a comprehensive visual and written record of your packed items.
Prepare a final documentation package that includes your comprehensive inventory list, photographs, and any relevant insurance or valuation information. Place a waterproof, sealed copy of this documentation in a designated location within the container or keep it separately in a secure location. This package serves as a critical reference point for insurance purposes, personal tracking, or potential future retrieval needs.
Key final verification steps include:
- Complete visual inspection of container interior and exterior
- Photograph all packed items and document their condition
- Create a comprehensive digital and physical inventory
- Verify all items are securely positioned
- Prepare and store documentation package
By executing a thorough final check and documentation process, you create a robust system that protects your belongings and provides peace of mind throughout the storage and transportation journey.
Maximize Your Storage Success with Apple Truck and Trailer
Struggling to fit all your valuable belongings safely and efficiently into a storage container? You are not alone. Planning, organizing, and packing the right way can be stressful, especially if you lack the proper equipment or support. The article you just read lays out the best strategies for creating detailed inventories, using sturdy supplies, and stacking items for maximum space and safety. But even the most careful planning falls short if your container or transport solution does not meet your needs.
At Apple Truck and Trailer, we make it easy to take control of your next move or storage project. Browse our selection of high quality storage containers and trailers for rent or purchase, backed by decades of experience serving Massachusetts and surrounding states. Our expert support team can help you choose the perfect size and solution for your needs, whether you are a homeowner preparing for a big move or a business organizing inventory. Do not wait until you are facing last minute problems. Visit Apple Truck and Trailer now to request a quote, view our inventory, or connect with a local expert who will help turn detailed packing into peace of mind.
Frequently Asked Questions
How do I evaluate my packing needs before loading a storage container?
Begin by conducting a comprehensive inventory of your items, categorizing them by size, weight, and fragility. Measure larger items to ensure they fit into the container and create a detailed inventory list to visualize the total volume of items.
What packing supplies should I gather to effectively pack a storage container?
Gather sturdy moving boxes of various sizes, heavy-duty packing tape, bubble wrap, packing paper, furniture blankets, and essential tools like a measuring tape and utility knife to ensure a smooth packing process.
How should I organize and label items when packing a storage container?
Sort items into categories and use a color-coded labeling system to clearly mark each box with its contents and handling instructions. Create a digital inventory tracking system to complement your physical labels.
What are the best practices for loading items into a storage container?
Load heavy and sturdy items first at the bottom and center, using vertical stacking to maximize space. Secure items with ratchet straps and fill gaps with soft packing materials to prevent shifting during transport.
Recommended
- How to Pack a Storage Container in 5 Simple Steps – Apple Truck & Trailer
- Essential Tips to Effortlessly Maximize Your Container Storage Space – Apple Truck & Trailer
- Ultimate Weekend Trip Packing List for Stress-Free Travel – Yopki
- Understanding the Various Types of Shipping Containers – Worldwide Express, Inc.