Over one third of American homeowners report feeling overwhelmed by clutter during a move or major cleanout. For Massachusetts residents, tackling years of accumulated belongings can complicate any transition or renovation. Reliable decluttering solutions combined with local rental containers give you control and peace of mind, ensuring your home stays organized and your possessions are handled efficiently every step of the way.
Table of Contents
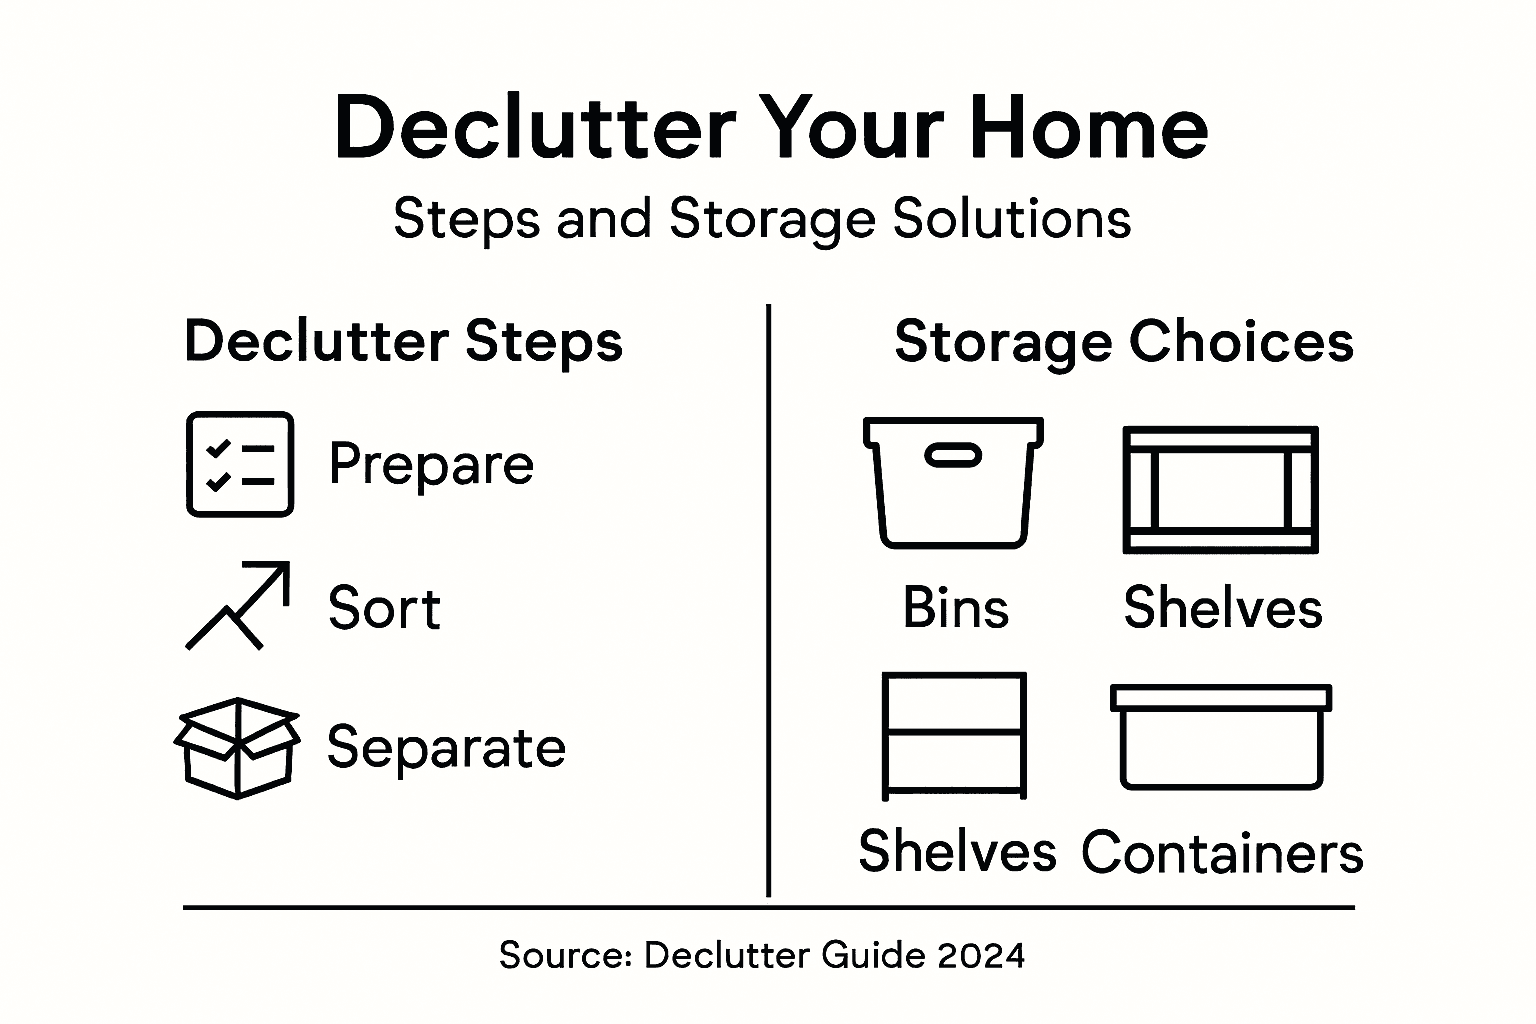
- Step 1: Prepare Supplies And Create A Decluttering Plan
- Step 2: Sort Room By Room And Identify Unwanted Items
- Step 3: Separate Items For Donation, Disposal, Or Storage
- Step 4: Utilize Local Storage Containers For Extra Belongings
- Step 5: Review And Maintain Your Clutter-Free Home
Quick Summary
| Key Takeaway | Explanation |
|---|---|
| 1. Gather sorting supplies | Prepare sturdy boxes, trash bags, and containers for immediate organization before starting your decluttering project. |
| 2. Create a decluttering plan | Strategically break down your decluttering tasks into manageable segments and set a realistic timeline to follow. |
| 3. Decide on item dispositions | Evaluate each item for donation, disposal, or storage to ensure effective decluttering while retaining what’s valuable. |
| 4. Optimize storage solutions | Use appropriate storage containers to maximize space while keeping frequently used items accessible and organized. |
| 5. Maintain a clutter-free home | Integrate regular tidying routines and a one-in-one-out policy to prevent future clutter build-up. |
Step 1: Prepare Supplies and Create a Decluttering Plan
Decluttering your home starts with smart preparation and a strategic approach. This initial step sets the foundation for transforming your living spaces from chaotic to organized, making the entire process smoother and more manageable.
To begin, gather essential supplies that will streamline your decluttering journey. Preparation is key to successful decluttering so stock up on sturdy boxes, heavy duty trash bags, cleaning supplies, and sorting containers. Allocate different colored or labeled containers for items you want to keep, donate, sell, or discard. Pro tip is to have at least four containers ready before you start sorting.
Next, develop a clear and realistic decluttering plan that breaks down your project into manageable segments. Mindful prioritization helps overcome overwhelm so select specific areas or rooms to tackle first. Consider starting with smaller spaces like a closet or bathroom to build initial momentum. Create a realistic timeline that fits your schedule, allowing yourself enough time to sort through items without feeling rushed or stressed.
Pro tip: Choose one small area to start with and set a timer for 25 minutes to prevent burnout and maintain motivation during your decluttering process.
Here is a comparison of common decluttering methods to guide your approach:
| Method | Best for | Time Commitment | Emotional Difficulty |
|---|---|---|---|
| Room-by-room | Large homes | Several days | Moderate |
| Category-by-category | Clothing, books, etc. | 1-2 days/segment | High (sentimental) |
| 15-minute sessions | Busy schedules | Very short bursts | Low |
| One-in-one-out rule | Ongoing maintenance | Minimal daily | Very low |
Step 2: Sort Room by Room and Identify Unwanted Items
Transforming your cluttered home into an organized space requires a systematic approach to sorting through your belongings. This step will help you methodically tackle each room and make decisive choices about what stays and what goes.
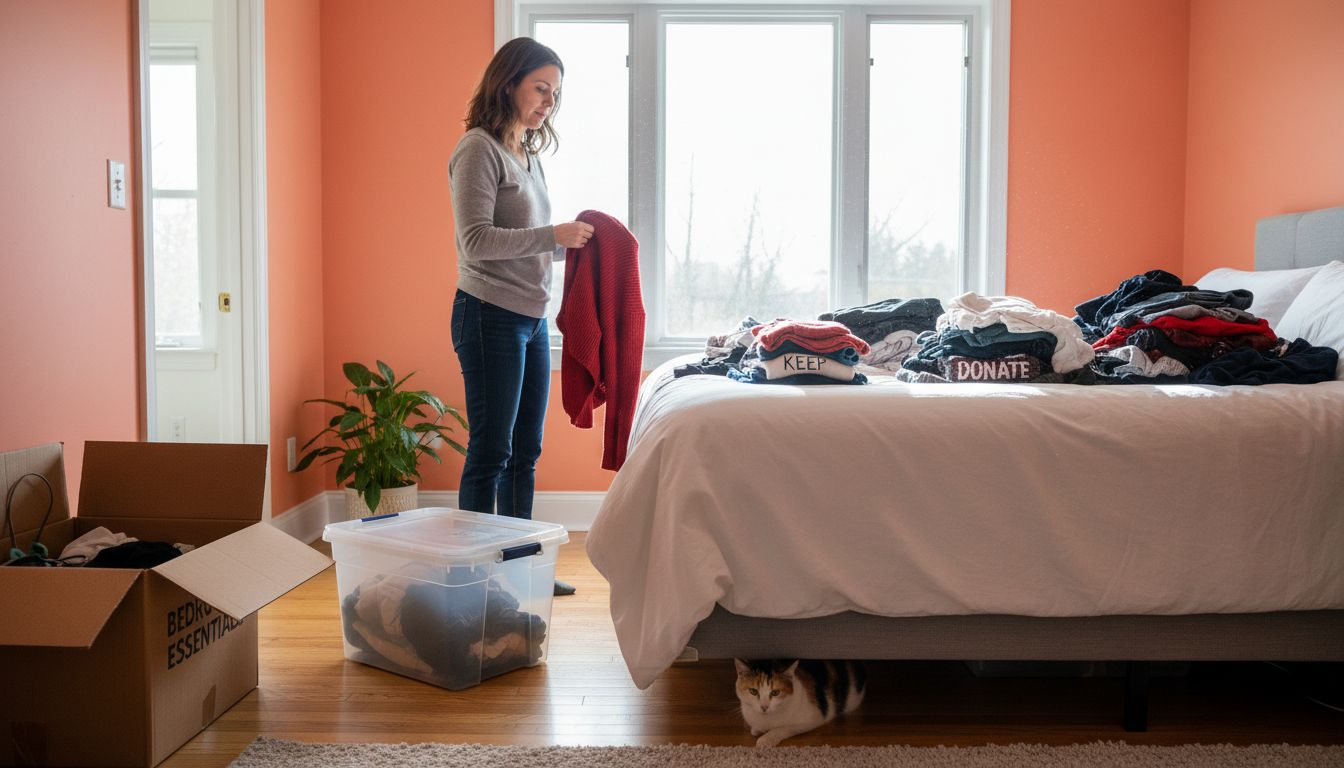
Effective sorting starts with focused room by room strategy so begin by selecting one room or area to declutter at a time. Set up four clearly labeled containers: keep, donate, sell, and trash. As you move through each space, pick up items individually and make immediate decisions. Ask yourself critical questions like: When was the last time I used this? Does it have sentimental value? Would I buy this item again today? These prompts will help you make faster sorting choices and prevent emotional attachment from slowing your progress.
Prompt decision making prevents sorting fatigue so work in focused bursts. Aim to touch each item only once and make a decisive choice. Start with easier rooms like bathrooms or home offices where emotional attachment tends to be lower. Work systematically through drawers, shelves, and storage spaces. Remove items completely from their original locations to get a clear perspective on your total volume of possessions.
Pro tip: Take before and after photos of each space to visualize your progress and stay motivated during the decluttering process.
Step 3: Separate Items for Donation, Disposal, or Storage
With your items sorted, the next critical phase of decluttering involves making strategic decisions about what happens to each group of possessions. This step transforms your sorting work into actionable next steps that clear out unnecessary items while preserving what truly matters.
Strategic property disposition requires careful evaluation so develop a systematic approach to categorizing your items. For donation, focus on items in good condition that are clean, functional, and potentially valuable to others. Check local donation centers for specific guidelines about acceptable items. Clothing should be free of stains or tears, electronics must be working, and household goods should be complete and undamaged. For disposal, identify items that are broken, expired, or beyond repair. Create a separate pile for recyclable materials like paper, plastics, and electronics to ensure responsible waste management.
When considering storage, be extremely selective. Safe handling requires careful item assessment so only store items with genuine future utility or significant sentimental value. Consider the cost of storage versus the item’s replacement value. Seasonal items, important documents, and family heirlooms might qualify for storage. For everything else, be ruthless about letting go. Create a timeline for stored items review to prevent unnecessary accumulation and ensure your storage solutions remain purposeful.
Pro tip: Take photos of sentimental items you’re donating or discarding to preserve memories without keeping physical clutter.
This table summarizes which items are best handled by donation, disposal, or storage:
| Item Type | Donate | Dispose | Store |
|---|---|---|---|
| Usable clothing | Local charities | Torn/stained | Seasonal/off-season |
| Old electronics | Working devices | Broken/obsolete | Rarely used backup |
| Heirlooms/photos | No, except duplicates | Never | Safe, secure |
| Paper documents | Shareable books | Shredded/expired | Legal/important |
Step 4: Utilize Local Storage Containers for Extra Belongings
Choosing the right storage solution transforms cluttered spaces into organized sanctuaries. This step focuses on selecting and maximizing local storage containers to manage your extra belongings efficiently and strategically.
Professional organizing strategies emphasize container management so start by assessing your specific storage needs. Measure your available space and select containers that fit proportionally. Clear plastic containers with secure lids work best for visibility and protection. Consider stackable options to maximize vertical space in closets, garages, or storage units. Label each container clearly with contents and date to track what you are storing and prevent unnecessary accumulation.
Designating storage spaces prevents ongoing clutter so create a systematic approach to container placement. Choose containers with uniform sizes that nest together seamlessly. Prioritize accessibility by placing frequently used items in easily reached locations. For seasonal or rarely used items, consider smart storage container solutions that can be stored in less convenient areas. Remember that effective storage is not just about hiding items away but creating a functional system that supports your lifestyle.
Pro tip: Invest in moisture absorbing packets and cedar blocks when storing clothing or paper items to prevent mildew and pest damage.
Step 5: Review and Maintain Your Clutter-Free Home
Reaching a clutter-free home is only half the battle. Maintaining your newly organized space requires consistent effort and strategic planning to prevent future accumulation of unnecessary items.
Integrating decluttering into daily routines helps sustain your progress. Implement a 15-minute daily tidying session where you return items to their designated spaces and quickly assess any emerging clutter zones. Create a weekly review schedule where you systematically check storage containers, closets, and high-traffic areas. This proactive approach prevents small messes from becoming overwhelming and helps you stay ahead of potential clutter buildup.
Developing sustainable maintenance habits means establishing clear rules for incoming items. Adopt a one-in-one-out policy where each new item requires removing a similar object. Set quarterly review dates to reassess your storage systems and donated items. Pay special attention to spaces that tend to accumulate clutter quickly like entryways, kitchen counters, and home offices. Treat your newly organized home as a dynamic system that requires regular attention and intentional management.
Pro tip: Take a quick smartphone photo of each organized space monthly to track your progress and motivate yourself to maintain the cleanliness.
Simplify Your Decluttering Journey with Trusted Local Storage Solutions
Decluttering your home can feel overwhelming when facing piles of belongings and the challenge of finding the right storage options. This article highlights the importance of sorting items and using effective local storage containers to maintain an organized space without stress. If you are struggling with how to effectively store seasonal items or want a secure place for your valuables, professional solutions can make all the difference.
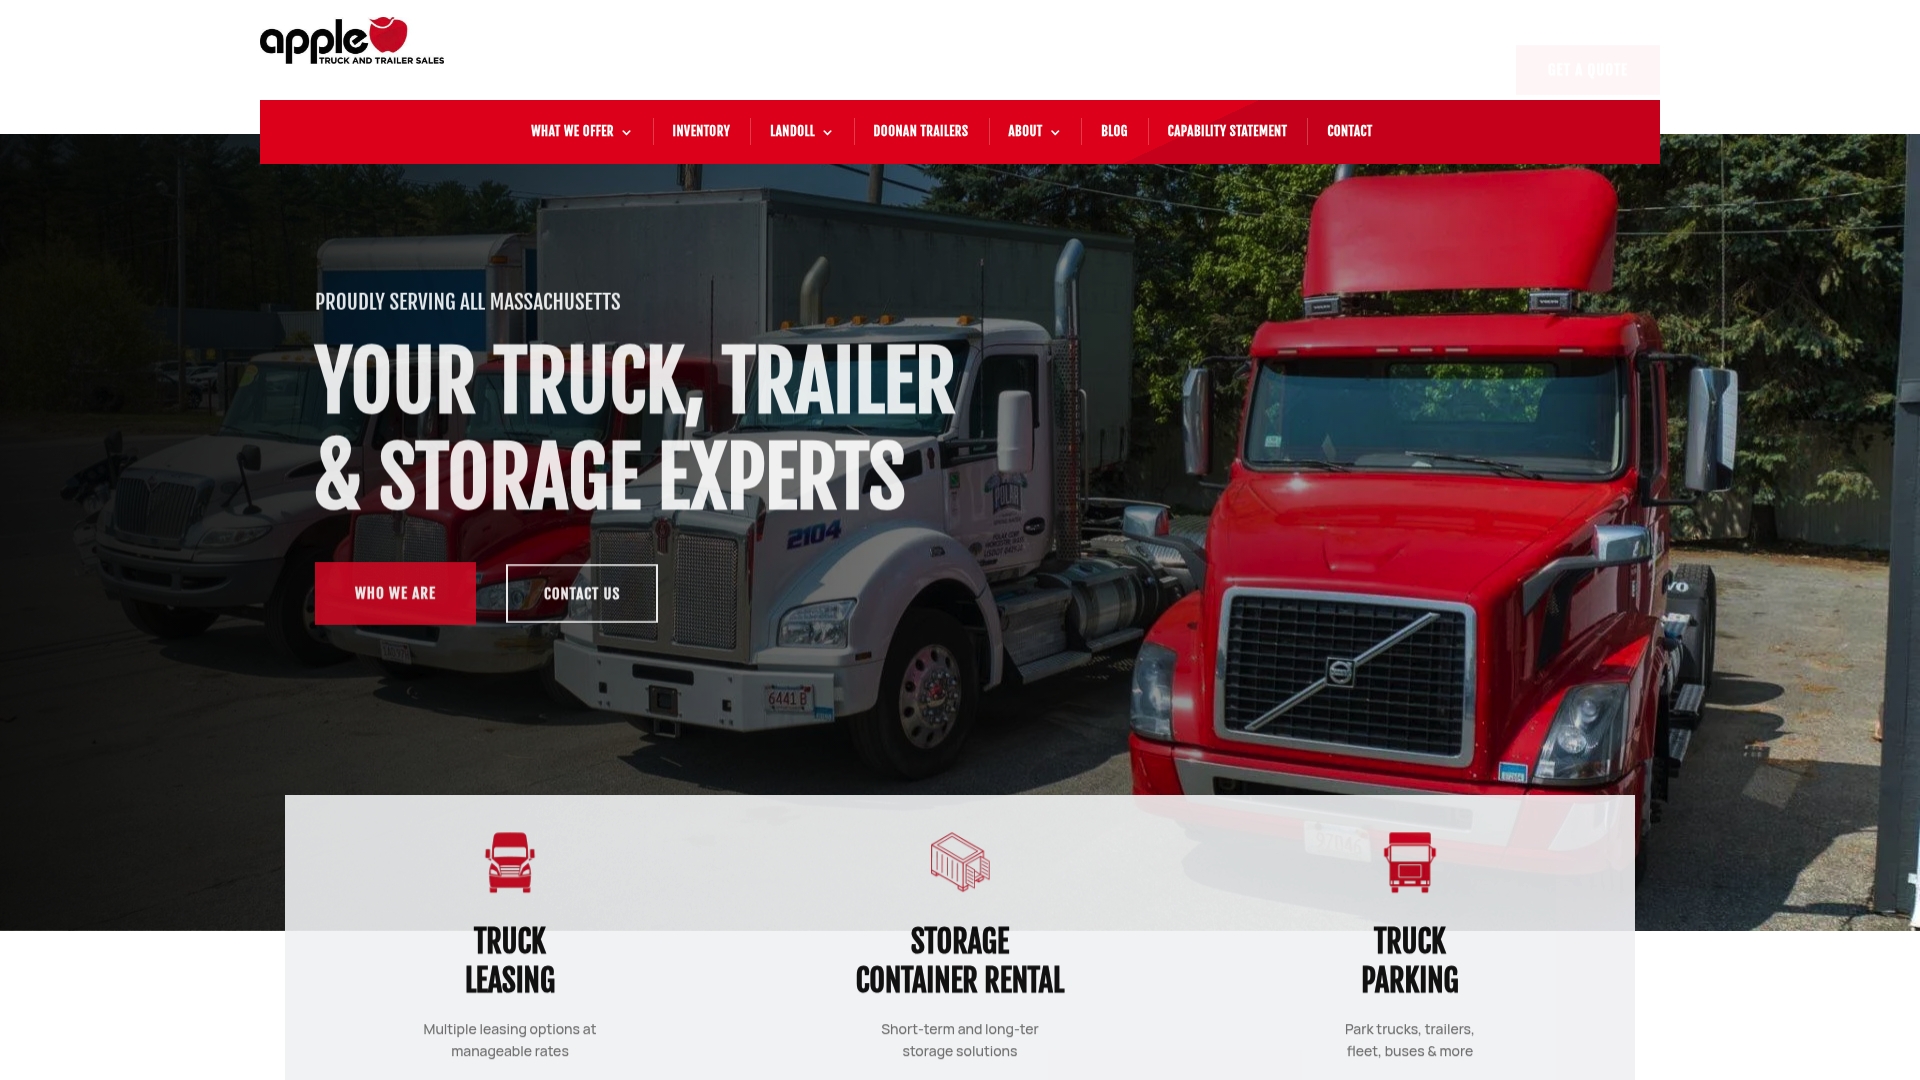
Explore high-quality, affordable storage containers and trailers tailored to your unique needs at Apple Truck and Trailer. Serving Massachusetts and surrounding regions since 1986, we provide expert guidance to help you select the ideal storage option that fits your space and lifestyle. Don’t wait until clutter takes over your home. Visit our site now to request a quote or learn more about how our local storage solutions can transform your decluttering efforts into lasting order.
Frequently Asked Questions
How can I start decluttering my home using local storage solutions?
To begin decluttering your home, gather essential supplies like boxes and trash bags. Create a strategic plan by choosing one small area to tackle at a time, allowing yourself 25-minute focused sessions to maintain motivation.
What should I keep in local storage containers?
Local storage containers are best for seasonal items, rarely used items like holiday decorations, and important documents. Be selective and only store items that you genuinely use or need, reviewing stored items every few months to minimize unnecessary accumulation.
How do I organize my items in storage containers?
Organize your items by using clear, labeled containers that indicate their contents. Measure your storage space to ensure you are using appropriately sized containers, and stack them to maximize vertical space in closets or storage units.
What is the one-in-one-out rule, and how can it help me maintain decluttered spaces?
The one-in-one-out rule means that for every new item you bring into your home, you must remove one item. Implement this practice consistently to help prevent clutter from building up again, ensuring your home remains organized over time.
How often should I review my decluttered areas to maintain organization?
Aim to review your decluttered spaces monthly to keep clutter at bay. Implement a quick 15-minute tidying session daily to return items to their designated spots and address any emerging clutter zones effectively.